Installing or Upgrading
By Rogue in Installing & Upgrading
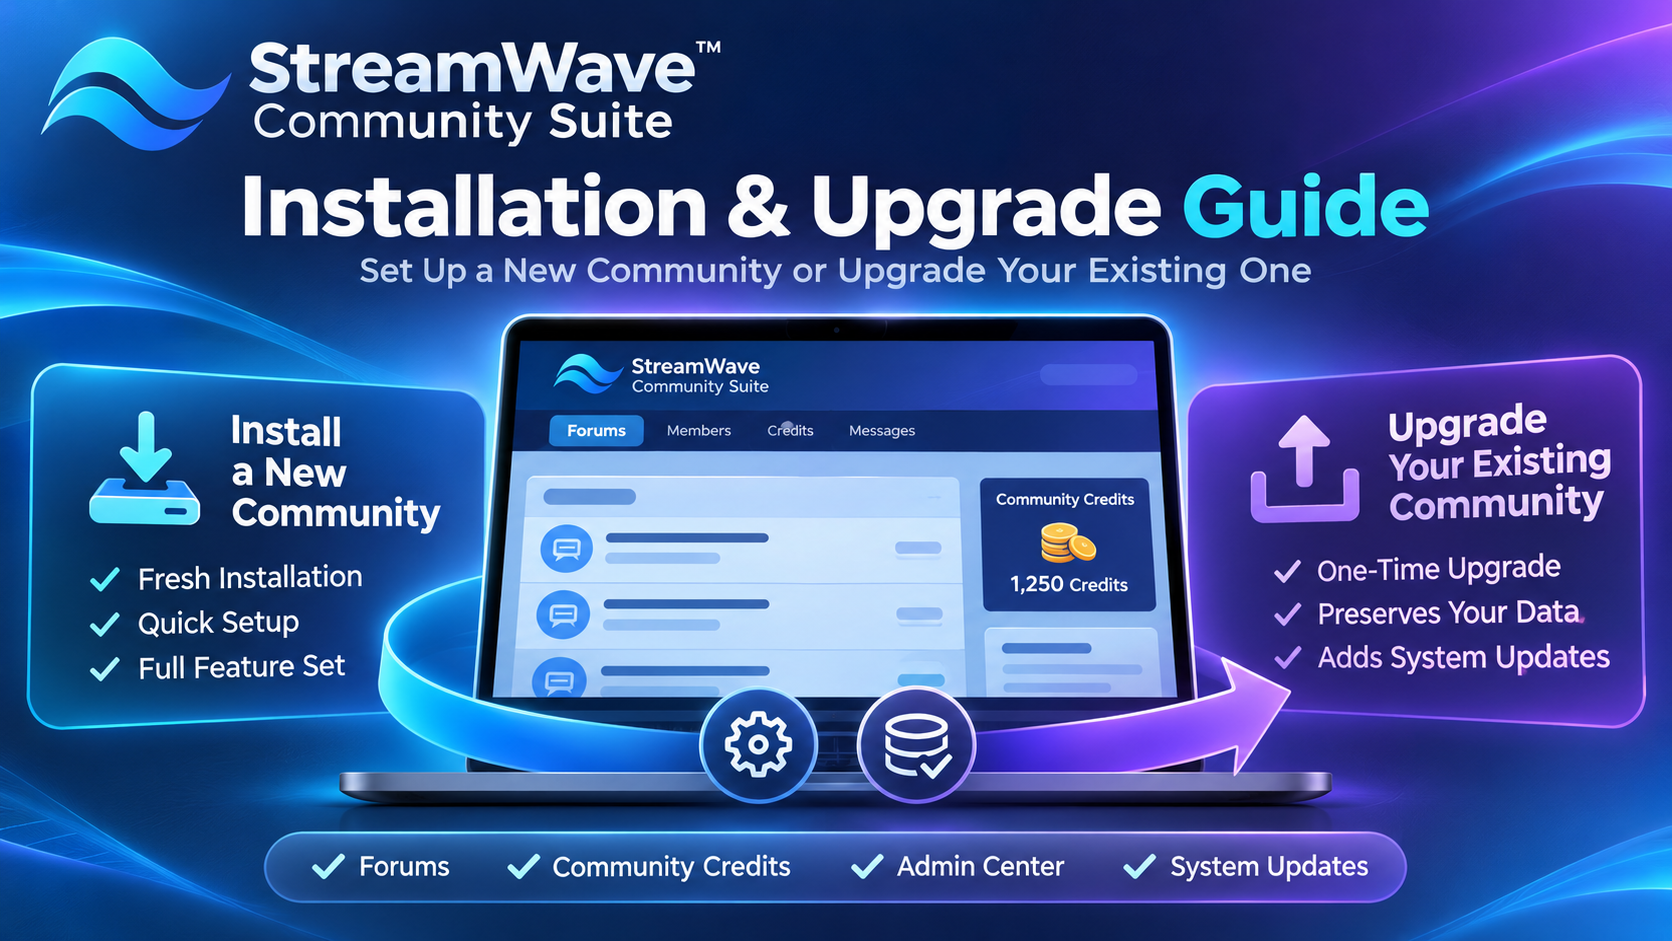
# 🚀 StreamWave Community Suite: Complete Installation & Upgrade Guide
**Everything you need to install a brand-new community or upgrade your existing StreamWave Community Suite installation.**
We're excited to introduce the latest StreamWave Community Suite installation bundle, featuring an updated forum core, improved administration tools, and a new System Updates feature designed to make future software updates easier.
Whether you're launching your first community or updating an existing one, this guide walks you through the process.
## 📦 Step 1: Download the Installation Bundle
Download the latest **StreamWave Community Suite Complete Installation Bundle** from our official website.
The download contains three files:
- **StreamWave-Community-Suite-Full-Installer.zip** — For brand-new community installations.
- **StreamWave-One-Time-Upgrade-Installer.zip** — For existing communities upgrading from an older version.
- **INSTALLATION-INSTRUCTIONS.txt** — Complete installation instructions and important safety information.
**IMPORTANT:** Choose the installation method that applies to your community. Do not combine both installers or upload the outer bundle directly to your website's theme or add-on manager.
---
## 🆕 OPTION 1: Installing a Brand-New Community
Choose this option if you're installing StreamWave Community Suite on a new website with no existing community data.
### Step 1: Prepare Your Hosting
Make sure your hosting account supports:
- PHP 8.1 or newer
- PDO SQLite
- PHP mbstring
- PHP ZipArchive
Your website directory should be empty before installation.
### Step 2: Upload the Forum Files
1. Open your hosting control panel and launch File Manager.
2. Navigate to your website's document root, usually `public_html` or your domain's designated directory.
3. Extract `StreamWave-Community-Suite-Full-Installer.zip` on your computer.
4. Upload the **contents** of the extracted package into your empty website directory.
### Step 3: Launch the Installer
Open your browser and visit:
`https://yourdomain.com/install.php`
Replace `yourdomain.com` with your actual domain name.
### Step 4: Configure Your Community
Follow the on-screen installation wizard to configure your website branding and administrator account.
Complete the installation process as instructed.
### Step 5: Verify Your Installation
Once installation finishes:
1. Sign in using your administrator account.
2. Open the Admin Center.
3. Check that your forums are working.
4. Verify that Community Credits is available.
5. Confirm your community settings and branding.
6. Delete `install.php` from your server.
🎉 **Congratulations! Your new StreamWave community is installed.**
---
## 🔄 OPTION 2: Upgrading an Existing Community
Already running StreamWave Community Suite? You do not need to create a new community or manually overwrite your existing forum files.
The installation bundle includes a dedicated **One-Time Upgrade Installer** for older installations that do not yet have the System Updates feature.
### Step 1: Back Up Your Existing Community
Before upgrading, create an independent backup of your complete website, including its SQLite database, uploads, themes, add-ons, and configuration.
**Do not skip this step.** Keep your backup somewhere safe outside your website's public directory.
### Step 2: Enable a Maintenance Window
Schedule a time when your community can be temporarily unavailable.
Prevent members from posting, sending messages, or making other changes while the upgrade is running.
### Step 3: Extract the Upgrade Package
On your computer, extract:
`StreamWave-One-Time-Upgrade-Installer.zip`
Inside, you'll find two files:
- `streamwave-one-time-upgrade.php`
- `sw-legacy-payload.zip`
### Step 4: Upload the Upgrade Files
Using your hosting File Manager:
1. Navigate to your existing StreamWave Community Suite installation directory.
2. Locate the directory containing `forums.php`.
3. Upload both upgrade files into that same directory.
**Do not extract `sw-legacy-payload.zip` or manually overwrite your existing forum files.**
### Step 5: Launch the Upgrade Installer
Sign in to your existing forum as an administrator.
Then visit:
`https://yourdomain.com/streamwave-one-time-upgrade.php`
Replace `yourdomain.com` with your actual website address.
### Step 6: Install the Upgrade
The upgrade installer will present the proposed changes.
Review the information, then click:
**Back up and install upgrade**
The installer is designed to back up affected files, replace the necessary core files, and preserve your existing community storage, themes, add-ons, and uploads.
Allow the process to finish before closing the page.
### Step 7: Verify Your Community
After the upgrade, check that everything works correctly:
- Forums, topics, and replies
- Member accounts and profiles
- Private messages
- Community Credits
- Installed themes and add-ons
- Admin Center functionality
Then navigate to:
**Admin Center → Tools → System Updates**
Confirm that the new update manager is available.
### Step 8: Remove the Upgrade Files
Once you've verified the upgrade, return to File Manager and delete:
- `streamwave-one-time-upgrade.php`
- `sw-legacy-payload.zip`
These files should not remain accessible on your public website.
🎉 **Your existing community now has the updated core and System Updates interface!**
---
## ⚙️ Future Updates Through the Admin Center
The new System Updates section provides a central location for managing compatible future software update packages.
The intended workflow is to open **Admin Center → Tools → System Updates**, upload an official compatible update package, review its validation results, and proceed with the update.
Always retain an independent backup before applying future releases.
## ⚠️ Important Compatibility & Safety Information
This release introduces a new upgrade mechanism, but there are some important limitations administrators should understand.
**Database migrations are not yet automated.** The one-time upgrade installer and built-in update manager do not automatically apply SQLite schema migrations or restore databases.
Update packages are checked for compatibility and file integrity, but they are not cryptographically signature-verified. Only install packages obtained from a trusted source.
Neither installation route has yet completed end-to-end production-host testing. **We strongly recommend testing on a staging copy before upgrading a live community**, especially if your installation has extensive customizations.
If your community uses a different storage layout or heavily modified core files, verify compatibility before proceeding.
---
## 💙 Building a Better StreamWave Community Suite
Our goal is to make StreamWave Community Suite easier to install, maintain, customize, and upgrade.
This release lays the groundwork for a more convenient update experience while preserving the flexibility community administrators need.
We will continue improving the installation and upgrade process as StreamWave Community Suite evolves.
**Need help?** Visit our official community for support, discussions, announcements, and software updates.
🌐 **https://streamwaveforums.com**
**StreamWave Community Suite — Build Your Community. Your Way.**
**Everything you need to install a brand-new community or upgrade your existing StreamWave Community Suite installation.**
We're excited to introduce the latest StreamWave Community Suite installation bundle, featuring an updated forum core, improved administration tools, and a new System Updates feature designed to make future software updates easier.
Whether you're launching your first community or updating an existing one, this guide walks you through the process.
## 📦 Step 1: Download the Installation Bundle
Download the latest **StreamWave Community Suite Complete Installation Bundle** from our official website.
The download contains three files:
- **StreamWave-Community-Suite-Full-Installer.zip** — For brand-new community installations.
- **StreamWave-One-Time-Upgrade-Installer.zip** — For existing communities upgrading from an older version.
- **INSTALLATION-INSTRUCTIONS.txt** — Complete installation instructions and important safety information.
**IMPORTANT:** Choose the installation method that applies to your community. Do not combine both installers or upload the outer bundle directly to your website's theme or add-on manager.
---
## 🆕 OPTION 1: Installing a Brand-New Community
Choose this option if you're installing StreamWave Community Suite on a new website with no existing community data.
### Step 1: Prepare Your Hosting
Make sure your hosting account supports:
- PHP 8.1 or newer
- PDO SQLite
- PHP mbstring
- PHP ZipArchive
Your website directory should be empty before installation.
### Step 2: Upload the Forum Files
1. Open your hosting control panel and launch File Manager.
2. Navigate to your website's document root, usually `public_html` or your domain's designated directory.
3. Extract `StreamWave-Community-Suite-Full-Installer.zip` on your computer.
4. Upload the **contents** of the extracted package into your empty website directory.
### Step 3: Launch the Installer
Open your browser and visit:
`https://yourdomain.com/install.php`
Replace `yourdomain.com` with your actual domain name.
### Step 4: Configure Your Community
Follow the on-screen installation wizard to configure your website branding and administrator account.
Complete the installation process as instructed.
### Step 5: Verify Your Installation
Once installation finishes:
1. Sign in using your administrator account.
2. Open the Admin Center.
3. Check that your forums are working.
4. Verify that Community Credits is available.
5. Confirm your community settings and branding.
6. Delete `install.php` from your server.
🎉 **Congratulations! Your new StreamWave community is installed.**
---
## 🔄 OPTION 2: Upgrading an Existing Community
Already running StreamWave Community Suite? You do not need to create a new community or manually overwrite your existing forum files.
The installation bundle includes a dedicated **One-Time Upgrade Installer** for older installations that do not yet have the System Updates feature.
### Step 1: Back Up Your Existing Community
Before upgrading, create an independent backup of your complete website, including its SQLite database, uploads, themes, add-ons, and configuration.
**Do not skip this step.** Keep your backup somewhere safe outside your website's public directory.
### Step 2: Enable a Maintenance Window
Schedule a time when your community can be temporarily unavailable.
Prevent members from posting, sending messages, or making other changes while the upgrade is running.
### Step 3: Extract the Upgrade Package
On your computer, extract:
`StreamWave-One-Time-Upgrade-Installer.zip`
Inside, you'll find two files:
- `streamwave-one-time-upgrade.php`
- `sw-legacy-payload.zip`
### Step 4: Upload the Upgrade Files
Using your hosting File Manager:
1. Navigate to your existing StreamWave Community Suite installation directory.
2. Locate the directory containing `forums.php`.
3. Upload both upgrade files into that same directory.
**Do not extract `sw-legacy-payload.zip` or manually overwrite your existing forum files.**
### Step 5: Launch the Upgrade Installer
Sign in to your existing forum as an administrator.
Then visit:
`https://yourdomain.com/streamwave-one-time-upgrade.php`
Replace `yourdomain.com` with your actual website address.
### Step 6: Install the Upgrade
The upgrade installer will present the proposed changes.
Review the information, then click:
**Back up and install upgrade**
The installer is designed to back up affected files, replace the necessary core files, and preserve your existing community storage, themes, add-ons, and uploads.
Allow the process to finish before closing the page.
### Step 7: Verify Your Community
After the upgrade, check that everything works correctly:
- Forums, topics, and replies
- Member accounts and profiles
- Private messages
- Community Credits
- Installed themes and add-ons
- Admin Center functionality
Then navigate to:
**Admin Center → Tools → System Updates**
Confirm that the new update manager is available.
### Step 8: Remove the Upgrade Files
Once you've verified the upgrade, return to File Manager and delete:
- `streamwave-one-time-upgrade.php`
- `sw-legacy-payload.zip`
These files should not remain accessible on your public website.
🎉 **Your existing community now has the updated core and System Updates interface!**
---
## ⚙️ Future Updates Through the Admin Center
The new System Updates section provides a central location for managing compatible future software update packages.
The intended workflow is to open **Admin Center → Tools → System Updates**, upload an official compatible update package, review its validation results, and proceed with the update.
Always retain an independent backup before applying future releases.
## ⚠️ Important Compatibility & Safety Information
This release introduces a new upgrade mechanism, but there are some important limitations administrators should understand.
**Database migrations are not yet automated.** The one-time upgrade installer and built-in update manager do not automatically apply SQLite schema migrations or restore databases.
Update packages are checked for compatibility and file integrity, but they are not cryptographically signature-verified. Only install packages obtained from a trusted source.
Neither installation route has yet completed end-to-end production-host testing. **We strongly recommend testing on a staging copy before upgrading a live community**, especially if your installation has extensive customizations.
If your community uses a different storage layout or heavily modified core files, verify compatibility before proceeding.
---
## 💙 Building a Better StreamWave Community Suite
Our goal is to make StreamWave Community Suite easier to install, maintain, customize, and upgrade.
This release lays the groundwork for a more convenient update experience while preserving the flexibility community administrators need.
We will continue improving the installation and upgrade process as StreamWave Community Suite evolves.
**Need help?** Visit our official community for support, discussions, announcements, and software updates.
🌐 **https://streamwaveforums.com**
**StreamWave Community Suite — Build Your Community. Your Way.**